How to Apply Lash Extensions - A Step-by-Step Guide for Professionals
Applying lash extensions requires precision, patience, and the right tools. In this guide, we’ll walk you through the step-by-step process to ensure a flawless, professional application every time.
Step 1: Prepare Your Workspace
• Sanitize your hands and tools.
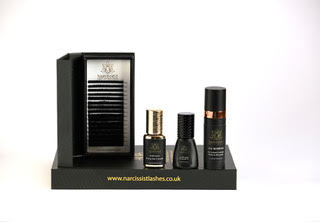
• Lay out your lash extensions, adhesive, tweezers, and eye patches.
• Ensure your Lash UV Lamp (if using UV adhesive) is ready for use.
Step 2: Cleanse the Client’s Lashes
• Use an oil-free lash cleanser to remove any dirt or oil from the natural lashes.
• Allow the lashes to dry fully before proceeding.
Step 3: Apply Eye Patches
• Gently place under-eye patches on the client’s lower lash line to separate the upper and lower lashes.
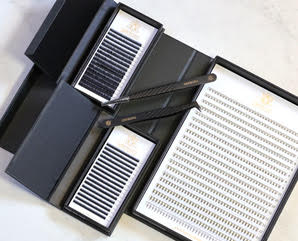
Step 4: Select and Arrange Lash Extensions
• Choose the appropriate lash length, curl, and thickness based on the client’s desired look.
• Arrange the lashes on a lash tile or tray for easy access.
Step 5: Apply Adhesive to the Extensions
• Dip the base of the lash extension into the adhesive, making sure to use a small amount.
• If using UV-curable adhesive, have your Lash UV Lamp ready to quickly cure each lash.
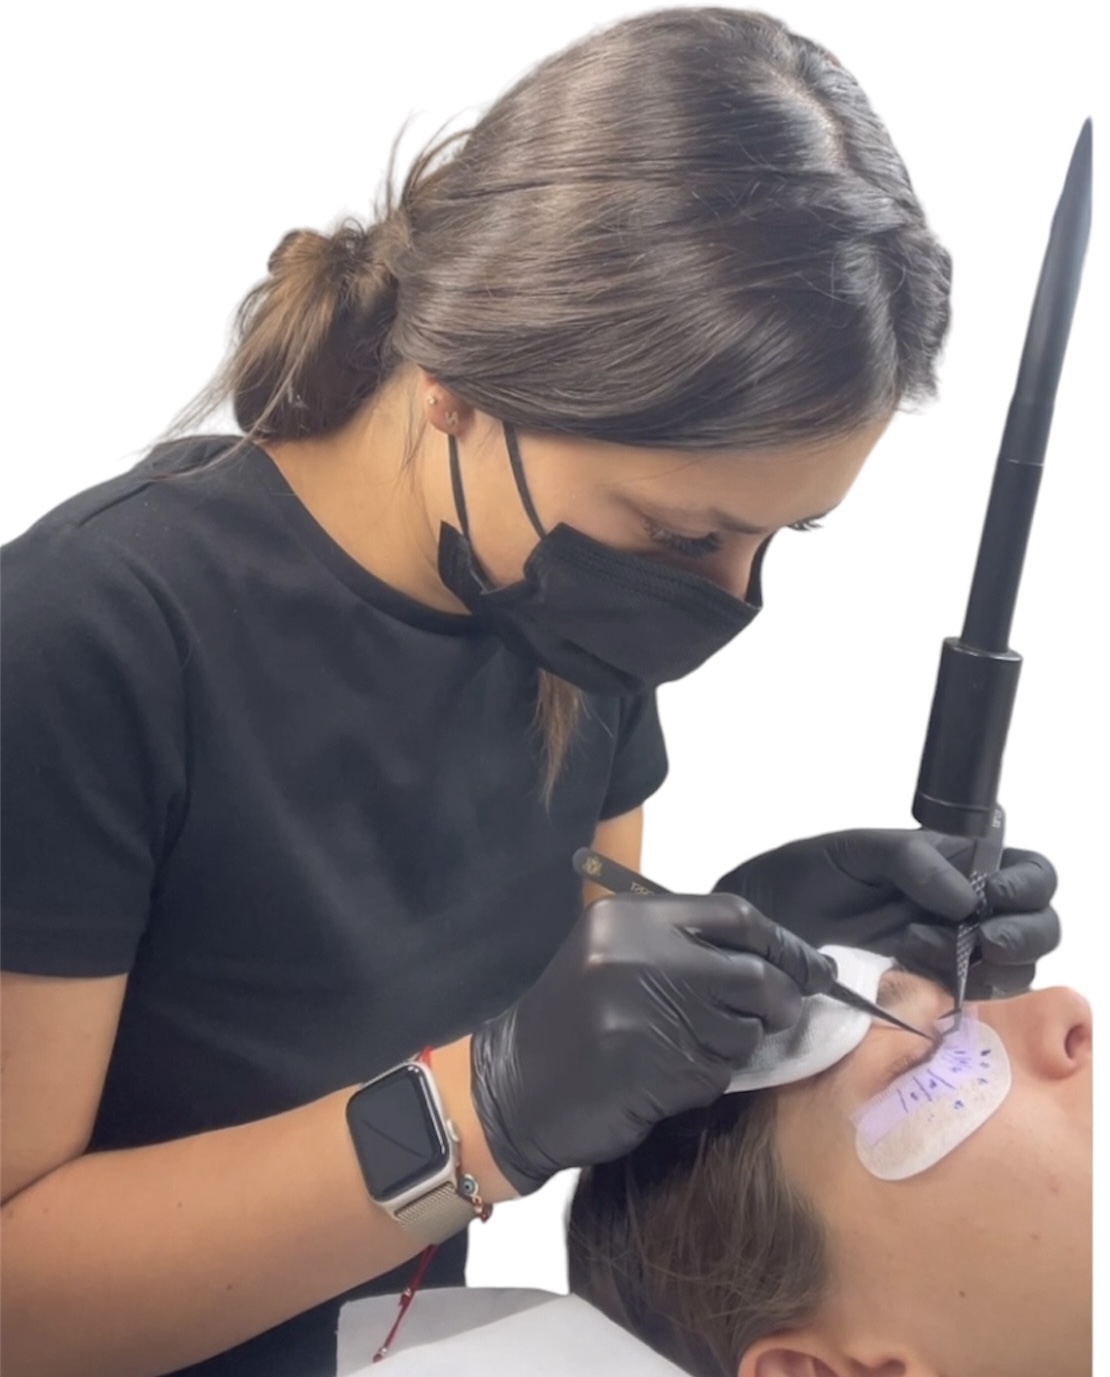
Step 6: Apply the Lashes
• Using tweezers, isolate a single natural lash.
• Gently apply the extension 1-2mm from the lash line, avoiding direct contact with the skin.
• Hold the extension in place for a few seconds until it adheres securely.
Step 7: Curing (For UV Adhesive)
• If you’re using a UV adhesive, place the lamp over the lashes to instantly cure the adhesive for faster, stronger bonding.
Step 8: Final Check and Adjustment
• Once all extensions are applied, check for any gaps or misalignments.
• Make necessary adjustments and remove any excess adhesive.
Step 9: Post-Application Care
• Advise your client to avoid water, steam, and oil-based products for the first 24 hours.
• Provide them with aftercare instructions for long-lasting results.