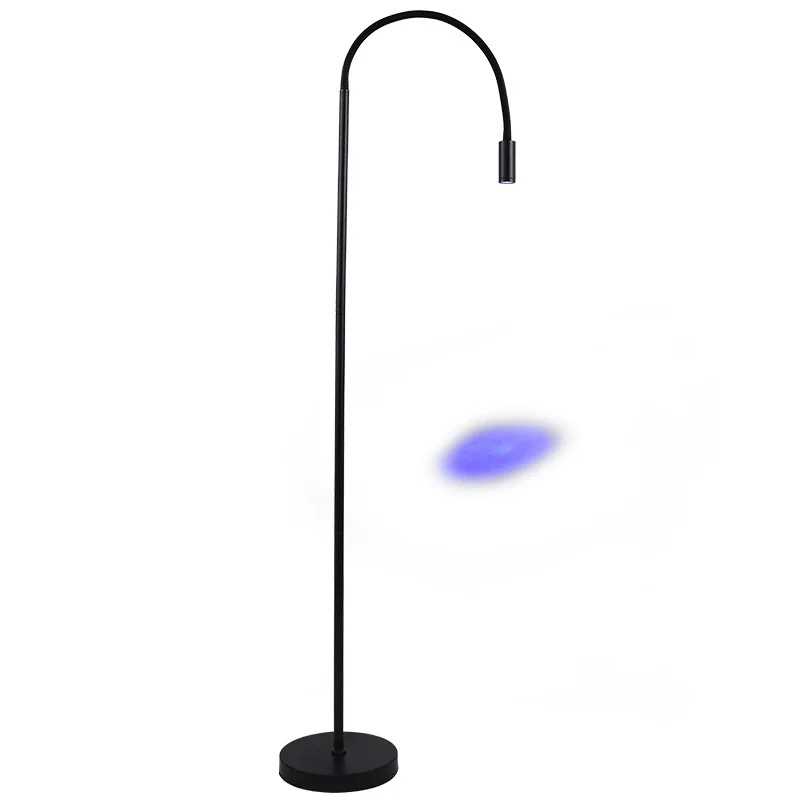
How to Use the Lash UV Lamp System - A Complete Guide
Our Lash UV Lamp System is designed to provide faster curing times and stronger bonds for lash adhesives. Follow this guide to properly use the UV lamp and enhance your lash application process.
Step 1: Set Up the UV Lamp
• Place the UV lamp in a well-ventilated, clean area.
• Ensure the lamp is plugged in and turned on before you begin the application process.
Step 2: Choose the Right UV-Curable Adhesive
• Our UV-curable lash adhesives are specially formulated for use with the lamp system. Be sure to select an adhesive that is compatible with the UV lamp for the best results.
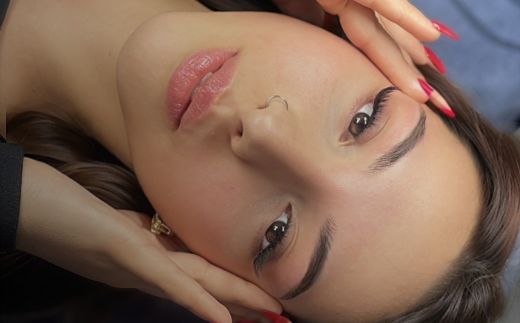
Step 3: Applying the Lash Extensions
• Apply lash extensions as you normally would, making sure to use the UV adhesive.
• Work in small sections, applying a few lashes at a time.
Step 4: Curing the Adhesive
• Once a section is complete, place the UV lamp over the lashes. The lamp will instantly cure the adhesive, creating a strong bond between the extension and the natural lash.
• Cure each section for the recommended time (usually around 1-2 seconds per section).
Step 5: Final Touches
• After curing, check that all lashes are securely attached and make any necessary adjustments.
Step 6: Clean and Store the UV Lamp
• After each use, clean the lamp with a soft cloth to remove any dust or debris.
• Store it in a dry, safe place to ensure it remains in good condition for future use.
Benefits of the Lash UV Lamp System:
• Faster Application: Reduce overall application time by curing the adhesive instantly.
• Stronger Bonds: The UV curing process creates a stronger adhesive bond, resulting in longer-lasting lash extensions.
• Improved Client Satisfaction: Faster service and longer-lasting lashes lead to happier clients and return visits.